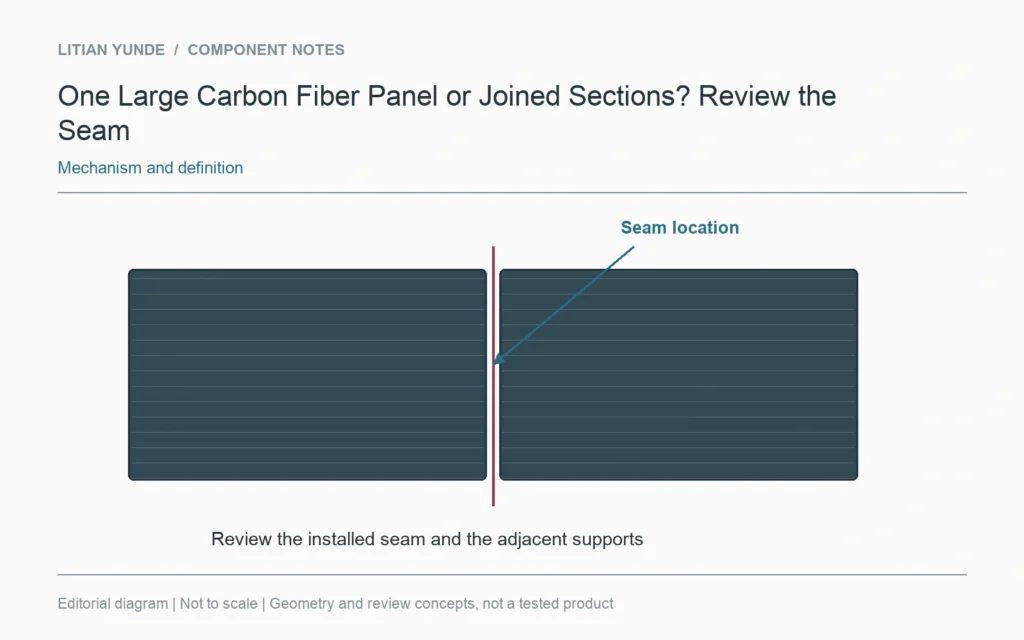
Splitting a large panel into sections introduces a joint with its own fit, access and appearance requirements. Review the seam before comparing the proposal with a one-piece panel. The finished outline alone does not describe the installed result.
Place the seam on the assembly drawing
Show the joint line relative to supports, visible areas and nearby equipment. Identify whether it is permanent or intended to be opened. A seam hidden in a rendered image can still affect installation, cleaning or replacement in the real assembly.
Define how the sections meet
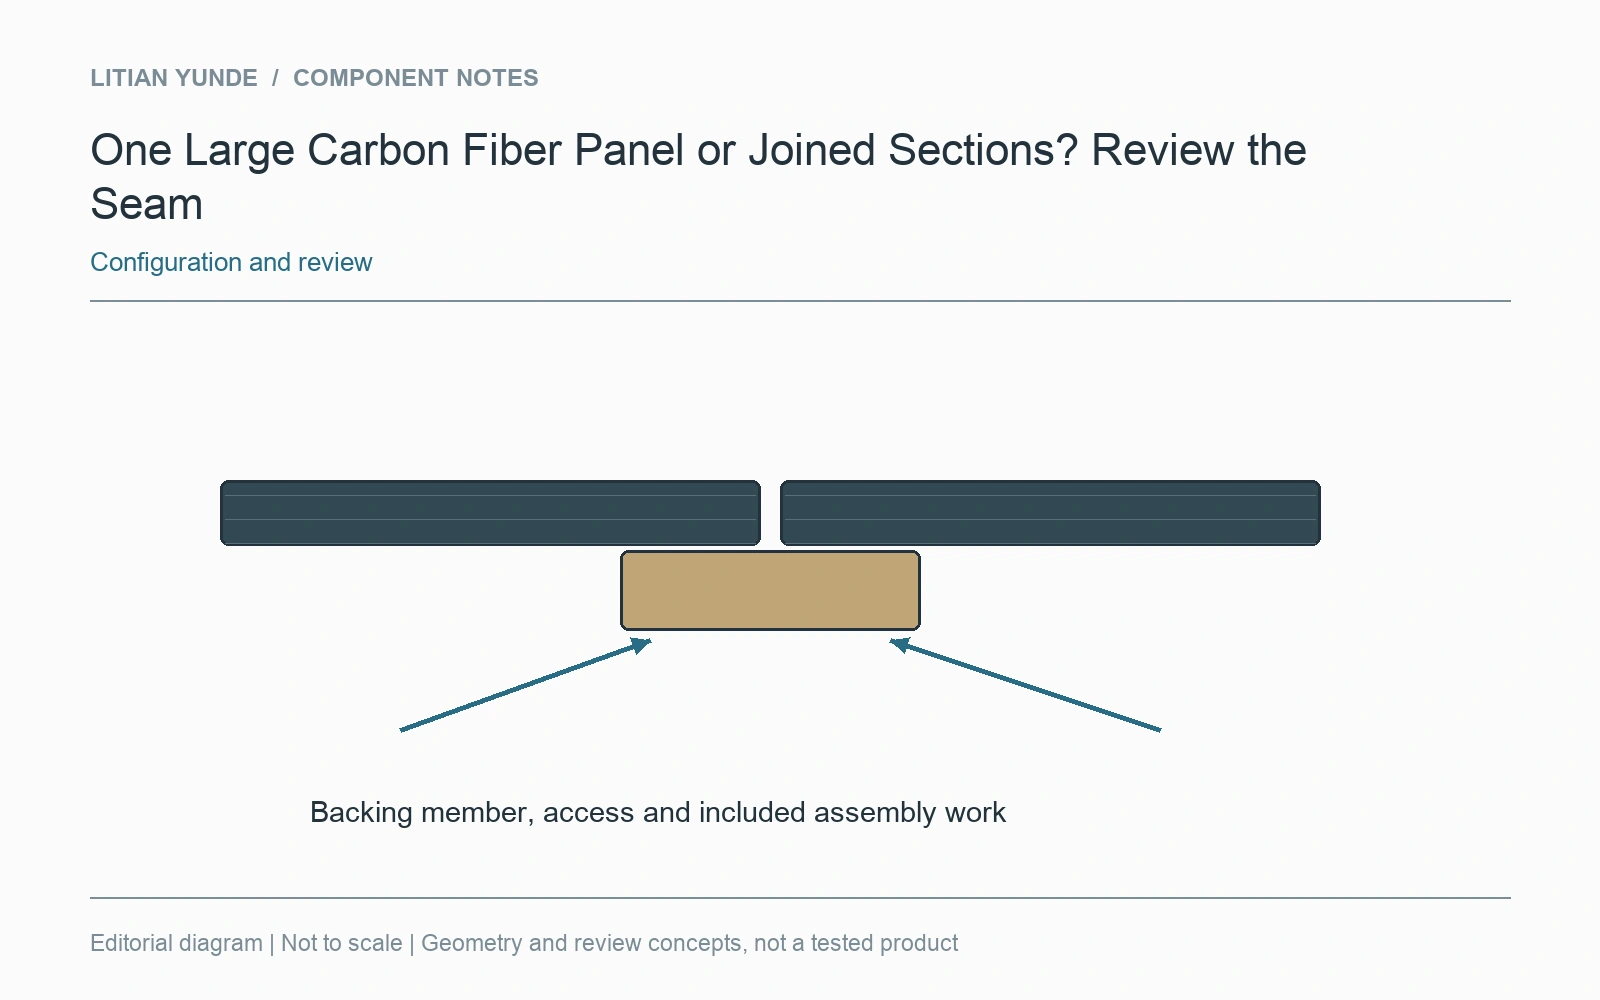
Record the proposed overlap, backing member or joining arrangement and the required finished condition. Include access for installation and any space occupied by the joint. If the panels must align visually, identify the controlled face and the comparison condition rather than asking for an undefined “invisible” seam.
Compare the delivered scope
A quotation for separate panels may omit joining hardware, fixtures or assembly work that a buyer assumed was included. List those items explicitly. For sample review, check the assembled interface as well as each loose section. The best choice depends on the installation and service requirements; this guide does not presume that a larger one-piece moulding is always preferable.