
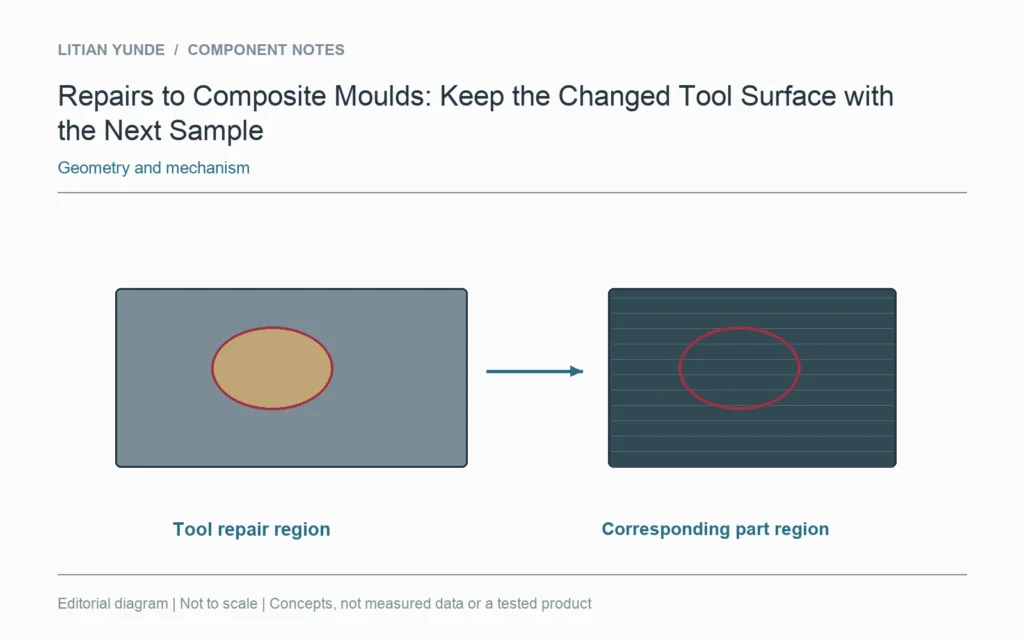
A repair to a mould surface should remain visible in the tool history and the next relevant sample review. Identify where the work occurred and which part features it can affect. A tool returning from maintenance is not evidence that every previous sample characteristic remains unchanged.
Locate the repair on the tool
Retain the tool identity, cavity where applicable, affected region and actual work record. Distinguish a local surface repair from routine cleaning or a change to the product geometry. The record should describe what changed without relying only on the word serviced.
Map it to the component
Show the corresponding delivered surface, edge or interface. Ask the responsible team which appearance, dimensional or process checks are needed before the next production release. Do not assume that a repaired area is outside the acceptance scope because it is not the most visible face.
Connect the next sample to the history
Retain the repaired tool condition with the represented sample and its agreed review results. If the work changes the intended component definition, resolve that change through the appropriate drawing and approval route. A new sample photograph can support a surface discussion, but it should not erase the repair record or substitute for the required measurements.
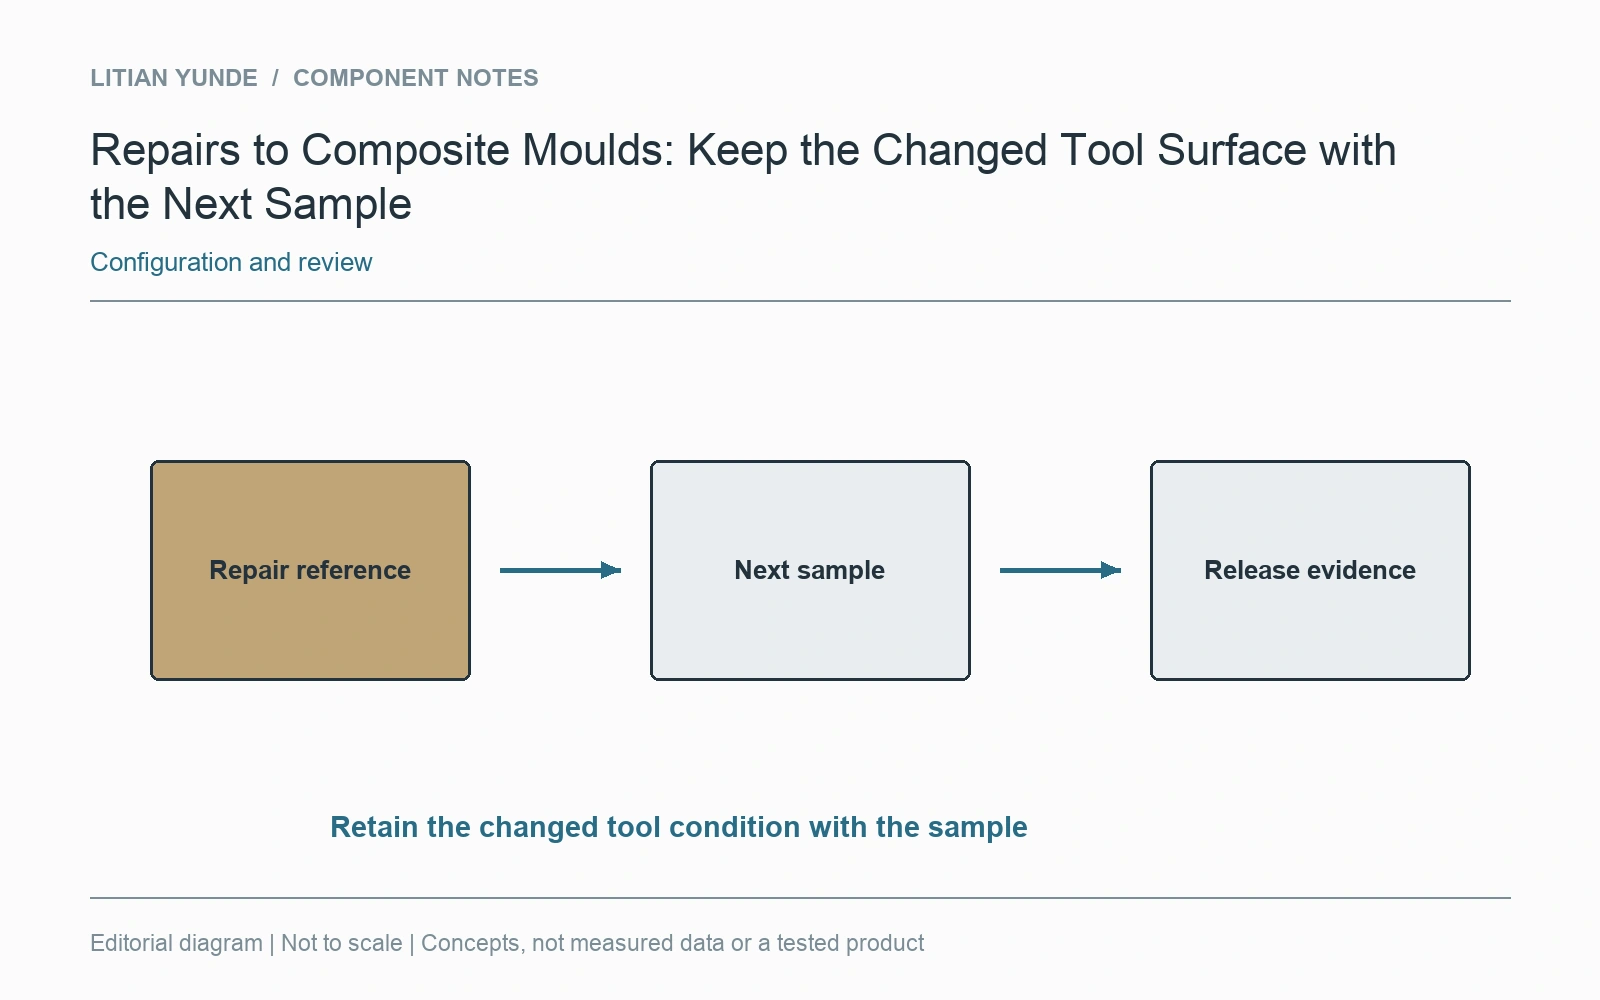
For the project review: tool, cavity and repair location; actual work and affected part features; required post-repair sample checks; release decision and any definition change.